
How to take top quality photographs of your catch.

‘Photos or it didn’t happen!’
We’ve all heard that one before… Fishos, as a whole, tend to be a hyperbole-prone bunch, so photographic evidence is a sometimes necessary tool to convince our friends and loved ones of our moments of glory.
Taking a few photos of an impressive catch should be a simple way to ensure that the memory can be recorded for posterity and shared with anyone and everyone who can be persuaded to take a look.
So, on those rare occasions that you actually manage to hook, fight and successfully land a fish worth bragging about, there’s nothing worse than missing the opportunity to snap some awesome photos to clog up your mates’ newsfeeds.
Unfortunately, screwing up that glory shot of your prized catch is easier than it should be…
Even if you remember to bring the camera and the batteries aren’t flat, it’s still not difficult to end up with a memory card full of dud pics by getting the settings on your camera wrong, screwing up the framing of your shots or letting in too much or too little light.
Take a look over the following ten photography tips and try to implement as many as you can next time you land a trophy fish. The idea is to keep your settings simple, use light to your advantage, be aware of what you’re shooting and fill the frame of your shot accordingly.
Take your time and don’t be afraid to shoot lots of frames – that’s the beauty of shooting digital. You might even be able to convince your mates that you can actually catch a fish every now and then!
TOP TEN TIPS FOR SHOOTING YOUR CATCH
Get your setting right. If you’re not an advanced shooter, the Auto setting is probably the right place to start. The Auto setting selects the most appropriate aperture and shutter speed, based on available light. If you’re looking to improve your portrait shots, try experimenting with the aperture priority setting – you select the aperture you want and the camera selects the appropriate shutter speed to match.
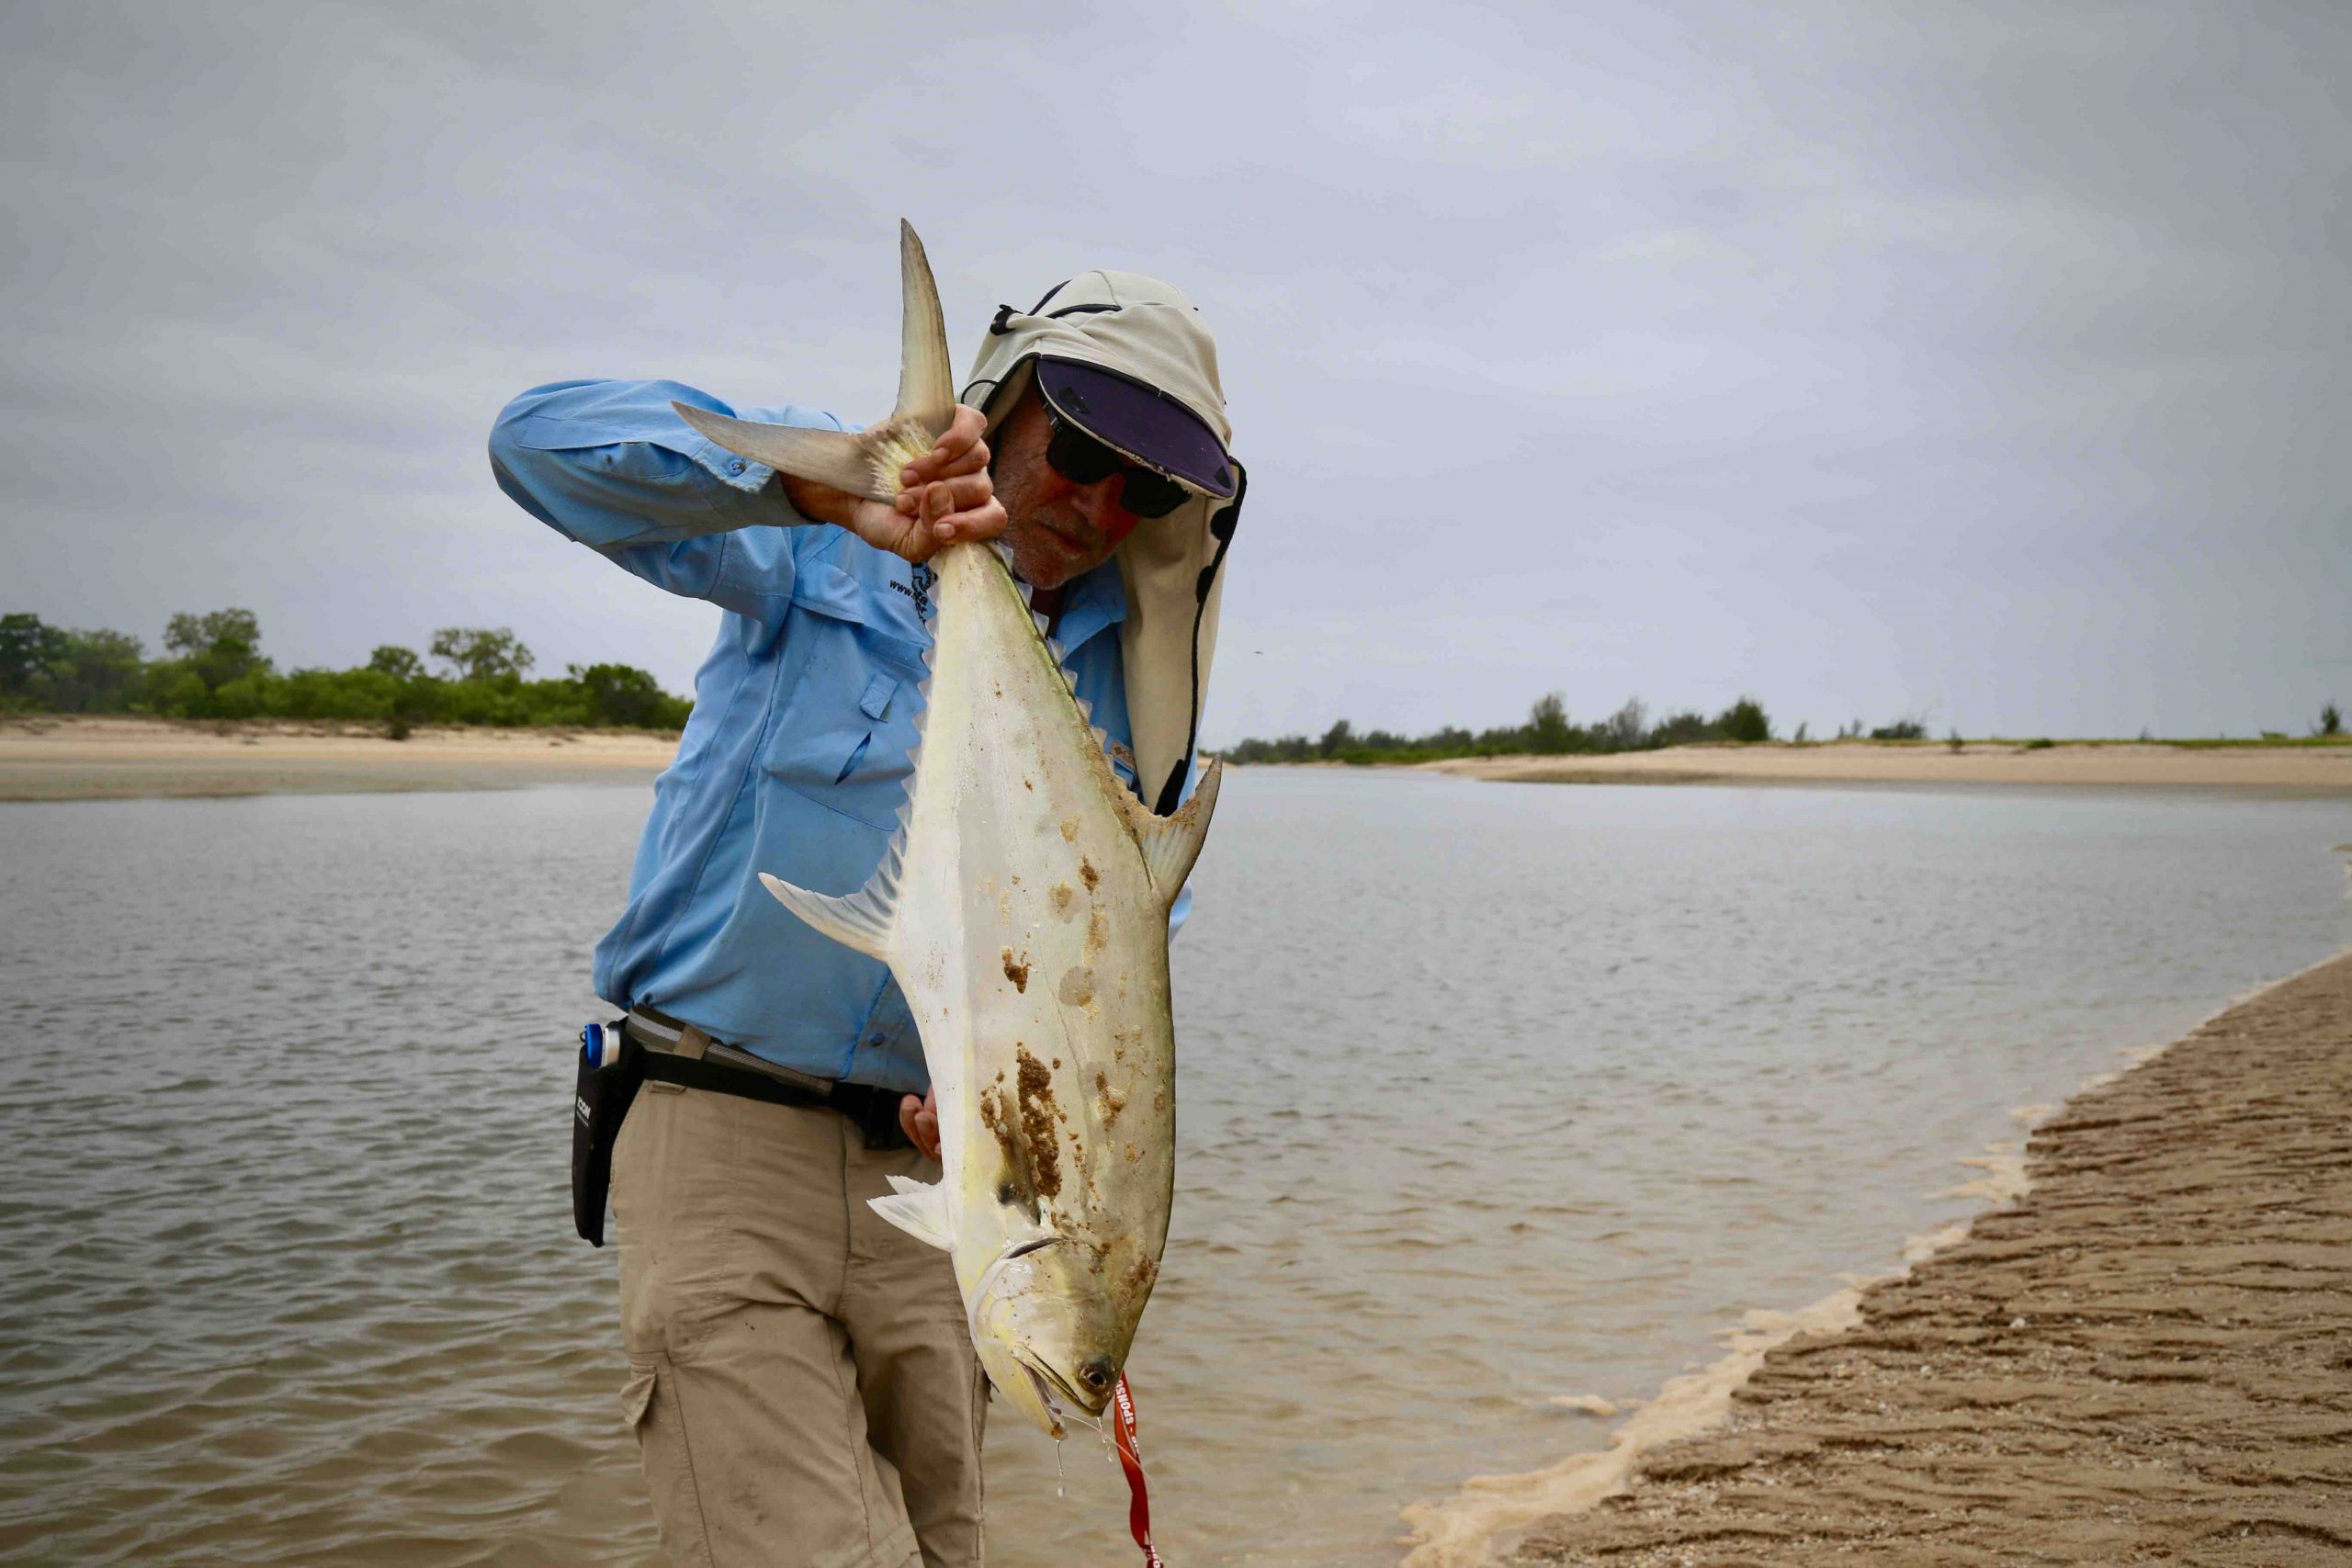
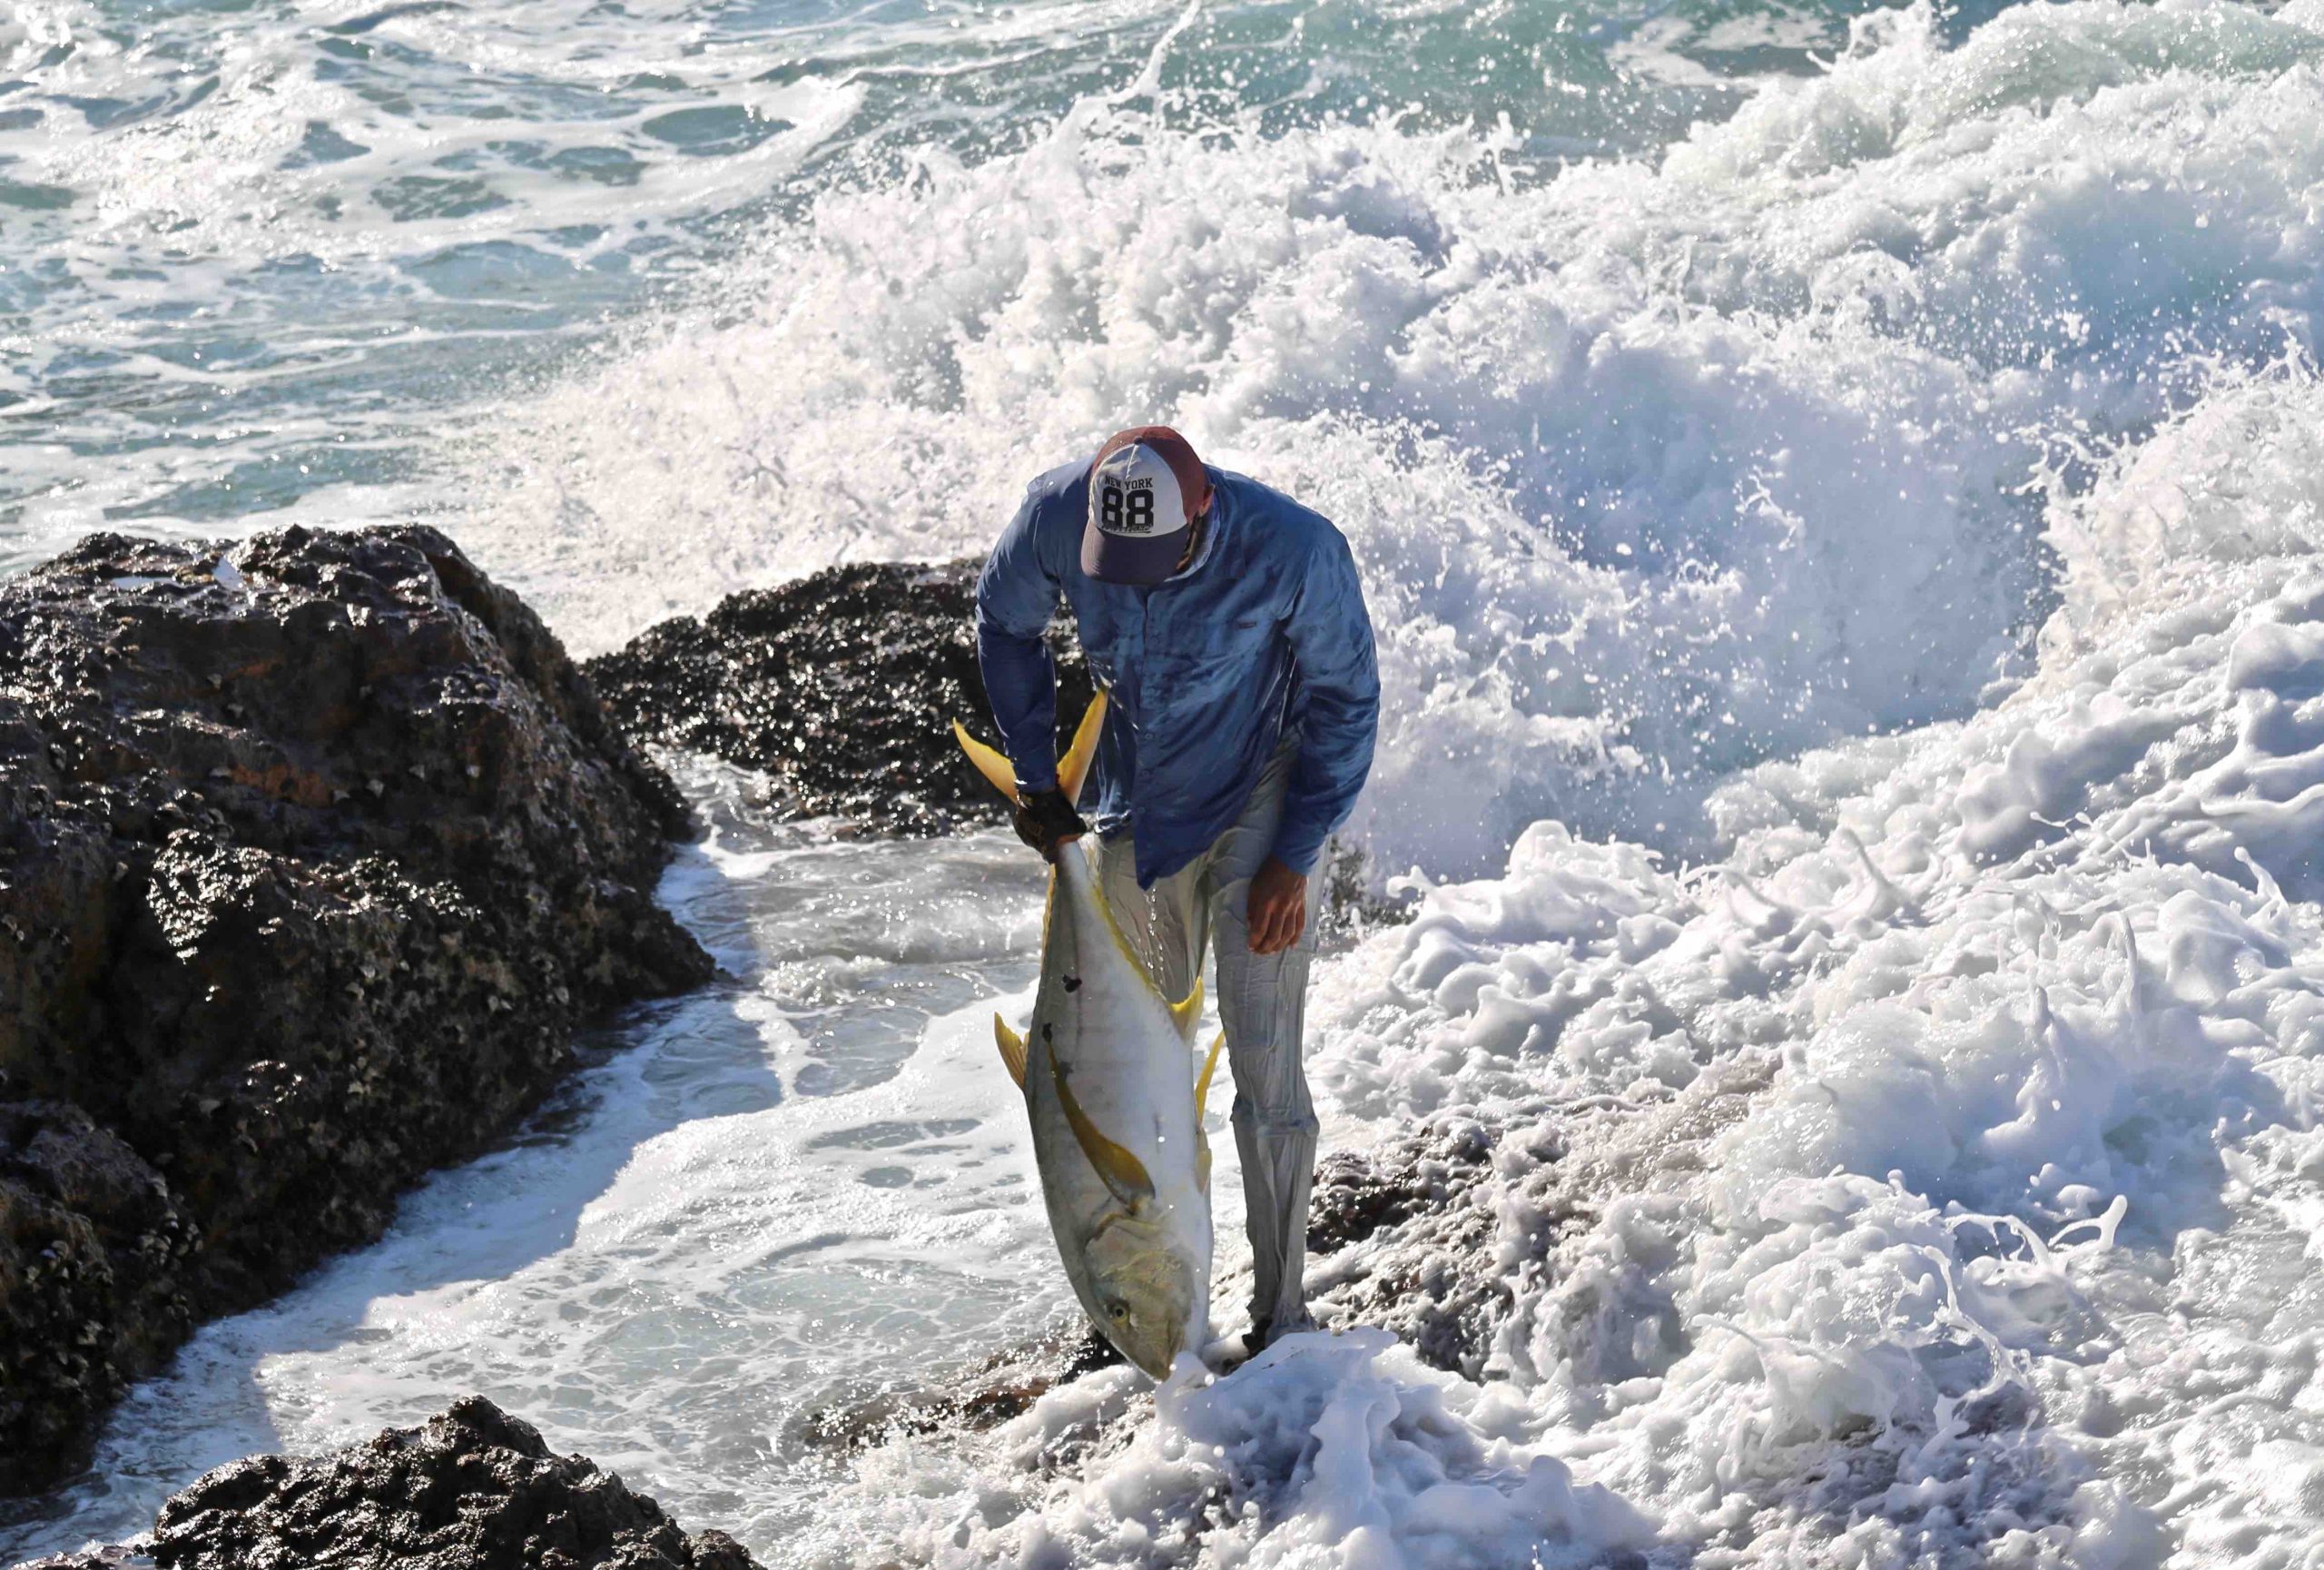
Shoot with the sun behind you. Having the sun behind the photographer ensures there is adequate light on the fish and angler, without the dark foreground shadows that occur when shooting into the sun. Shooting into the sun can create dramatic looking shots, but doesn’t work well when you need to be able to see the foreground clearly.
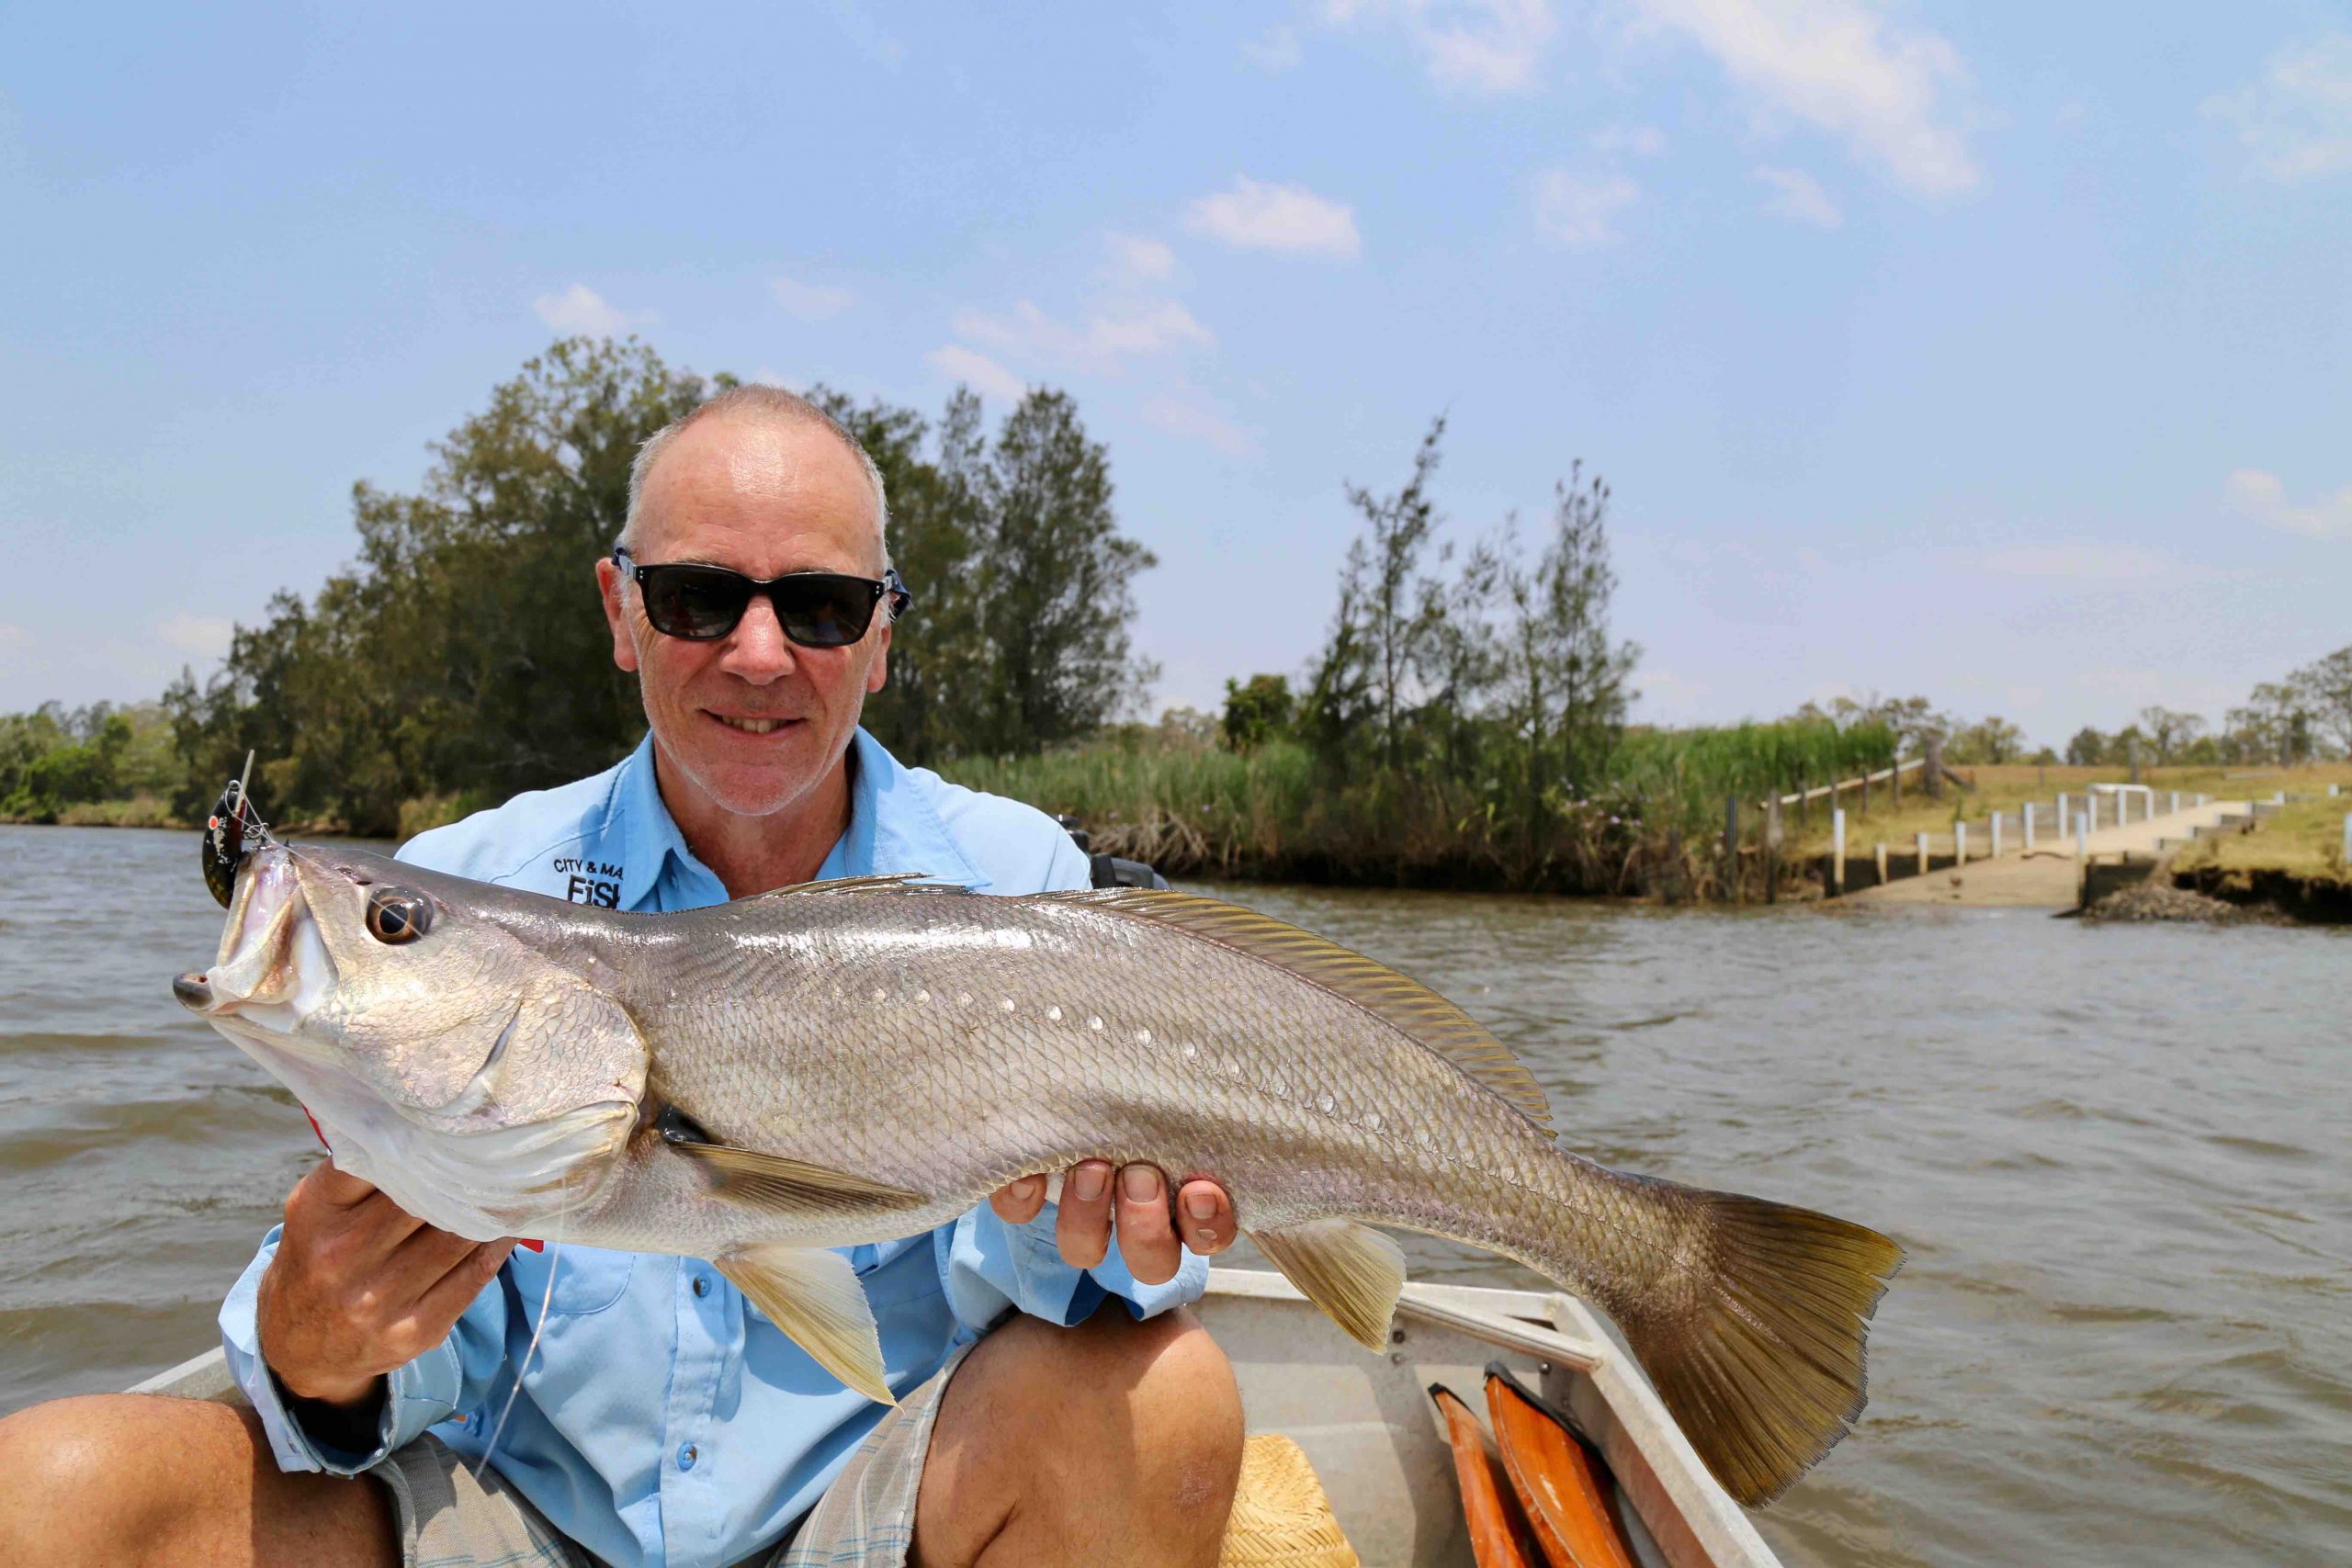
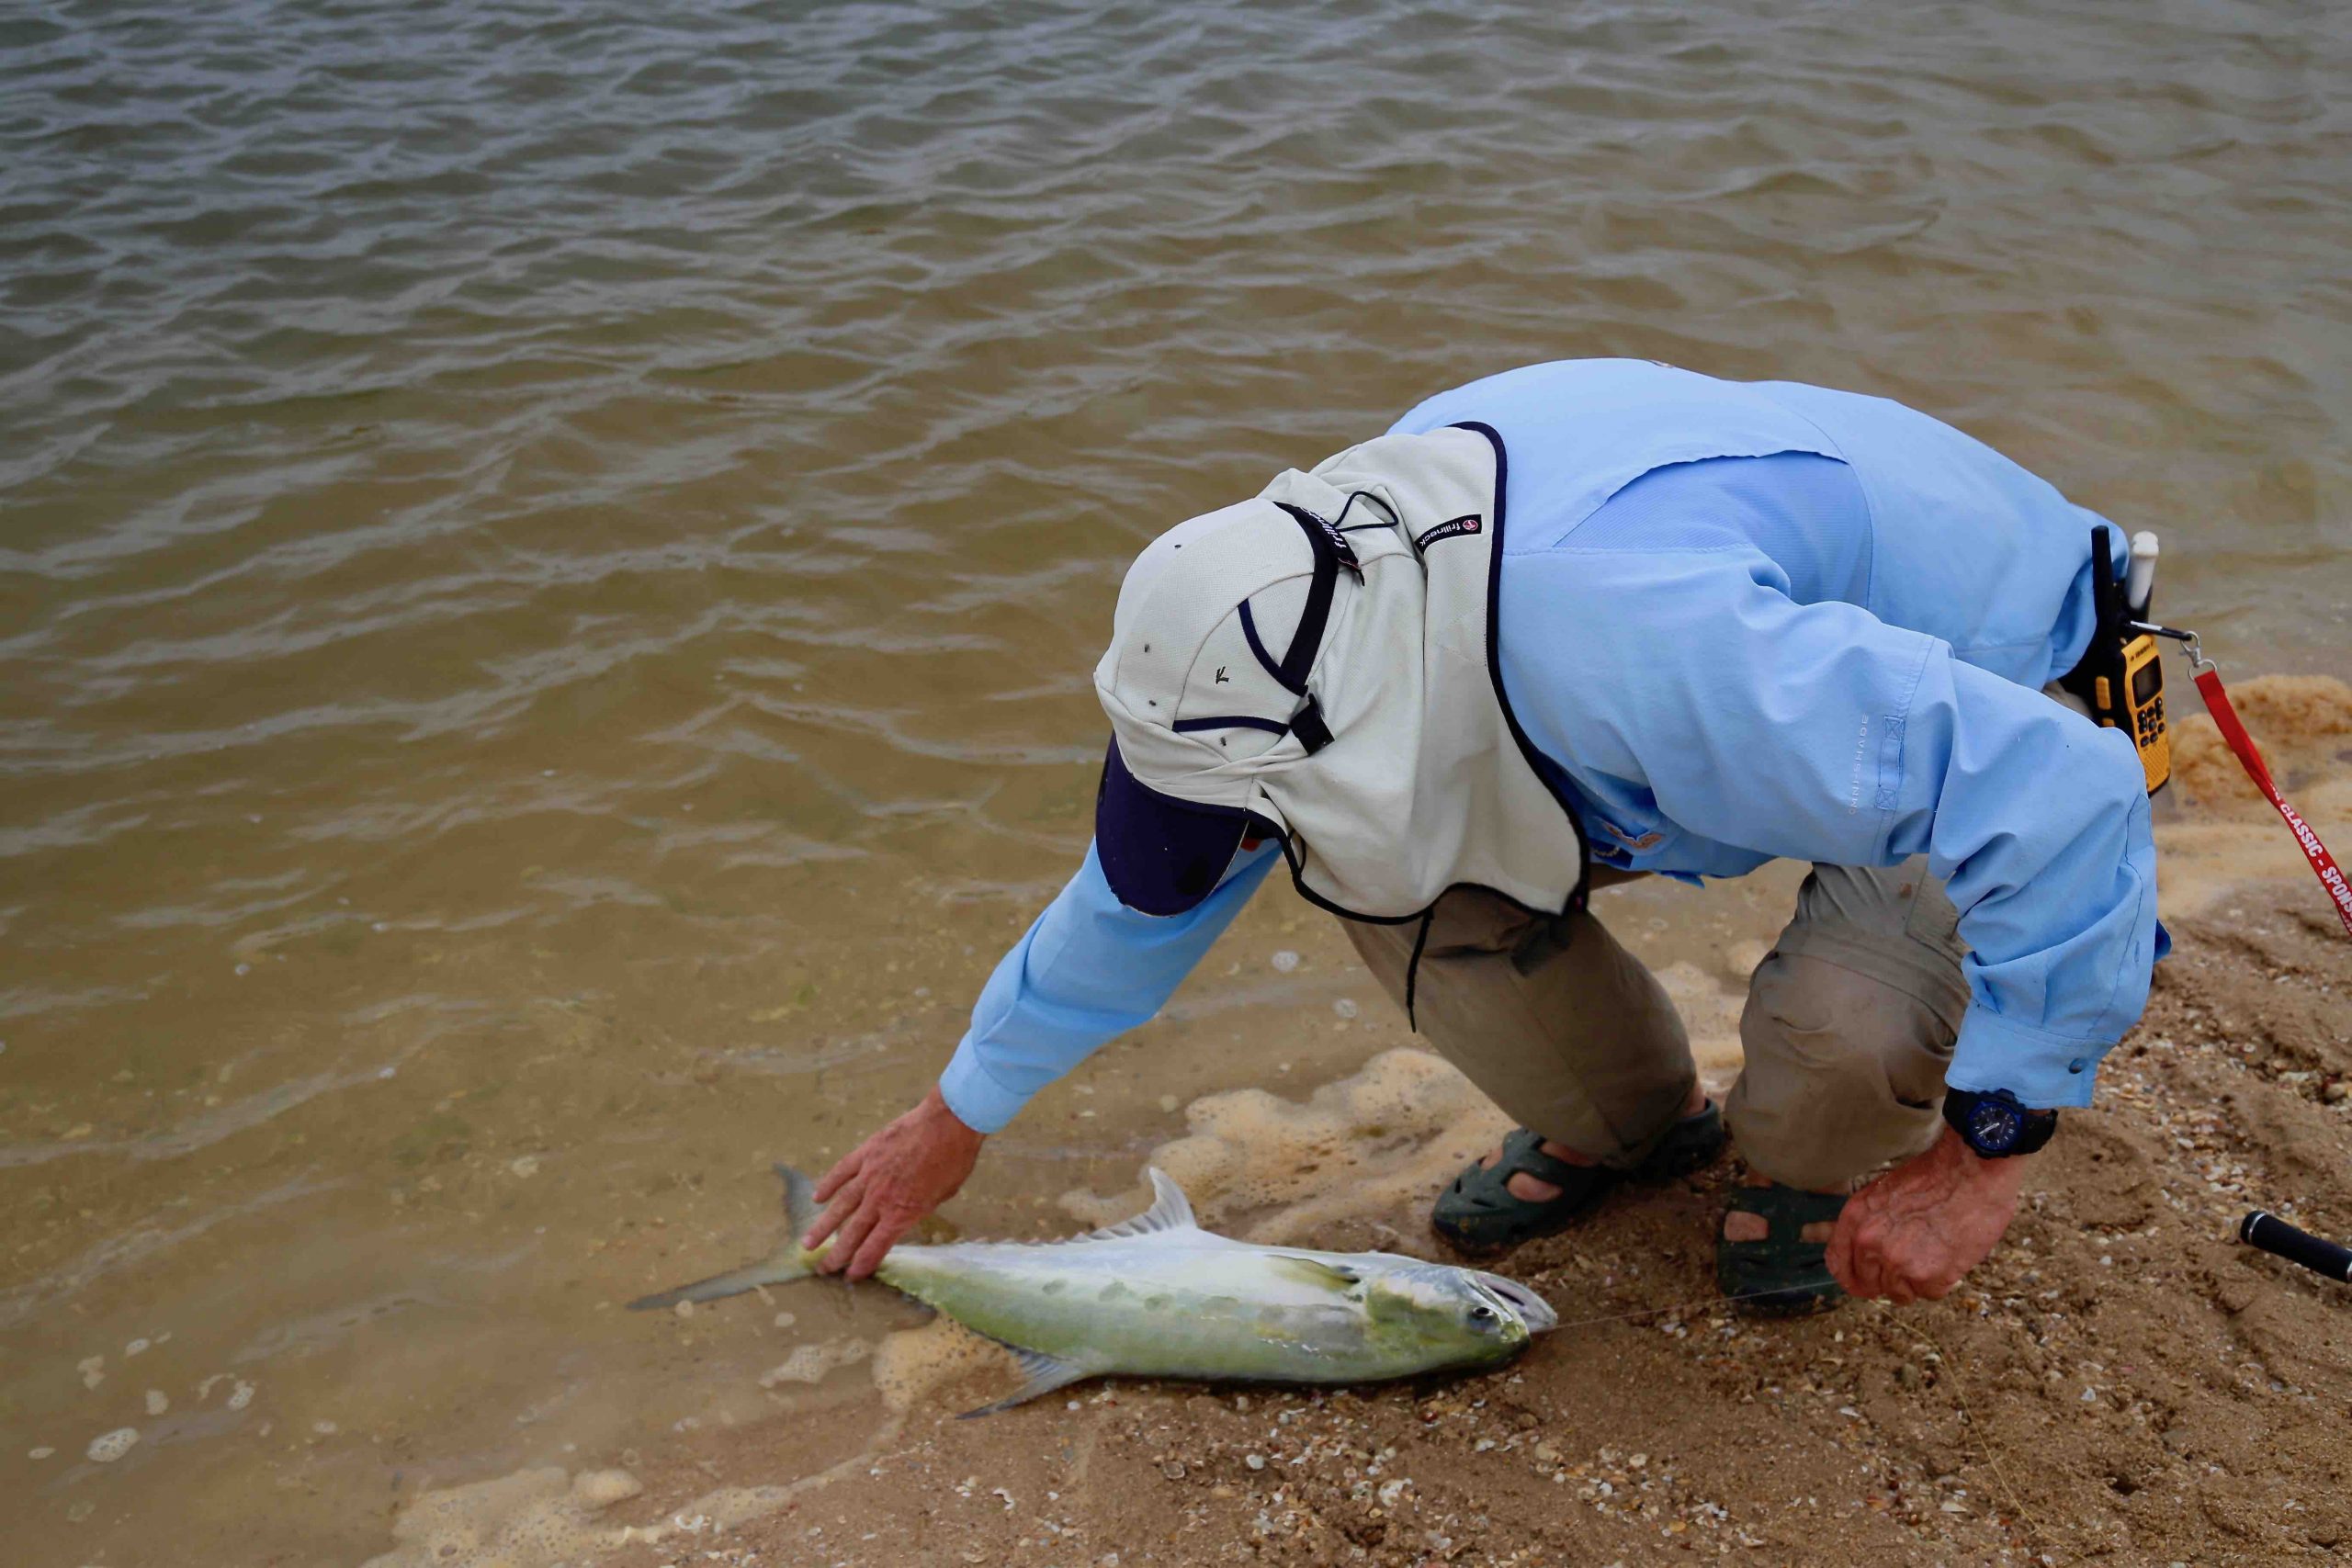
Learn to eliminate clutter. One of the most important tricks to taking better photos in general is learning to take a shot of almost nothing. Fish + angler + nice background of sky and/or water. Anything else is just cluttering up the frame and drawing attention away from your subject.
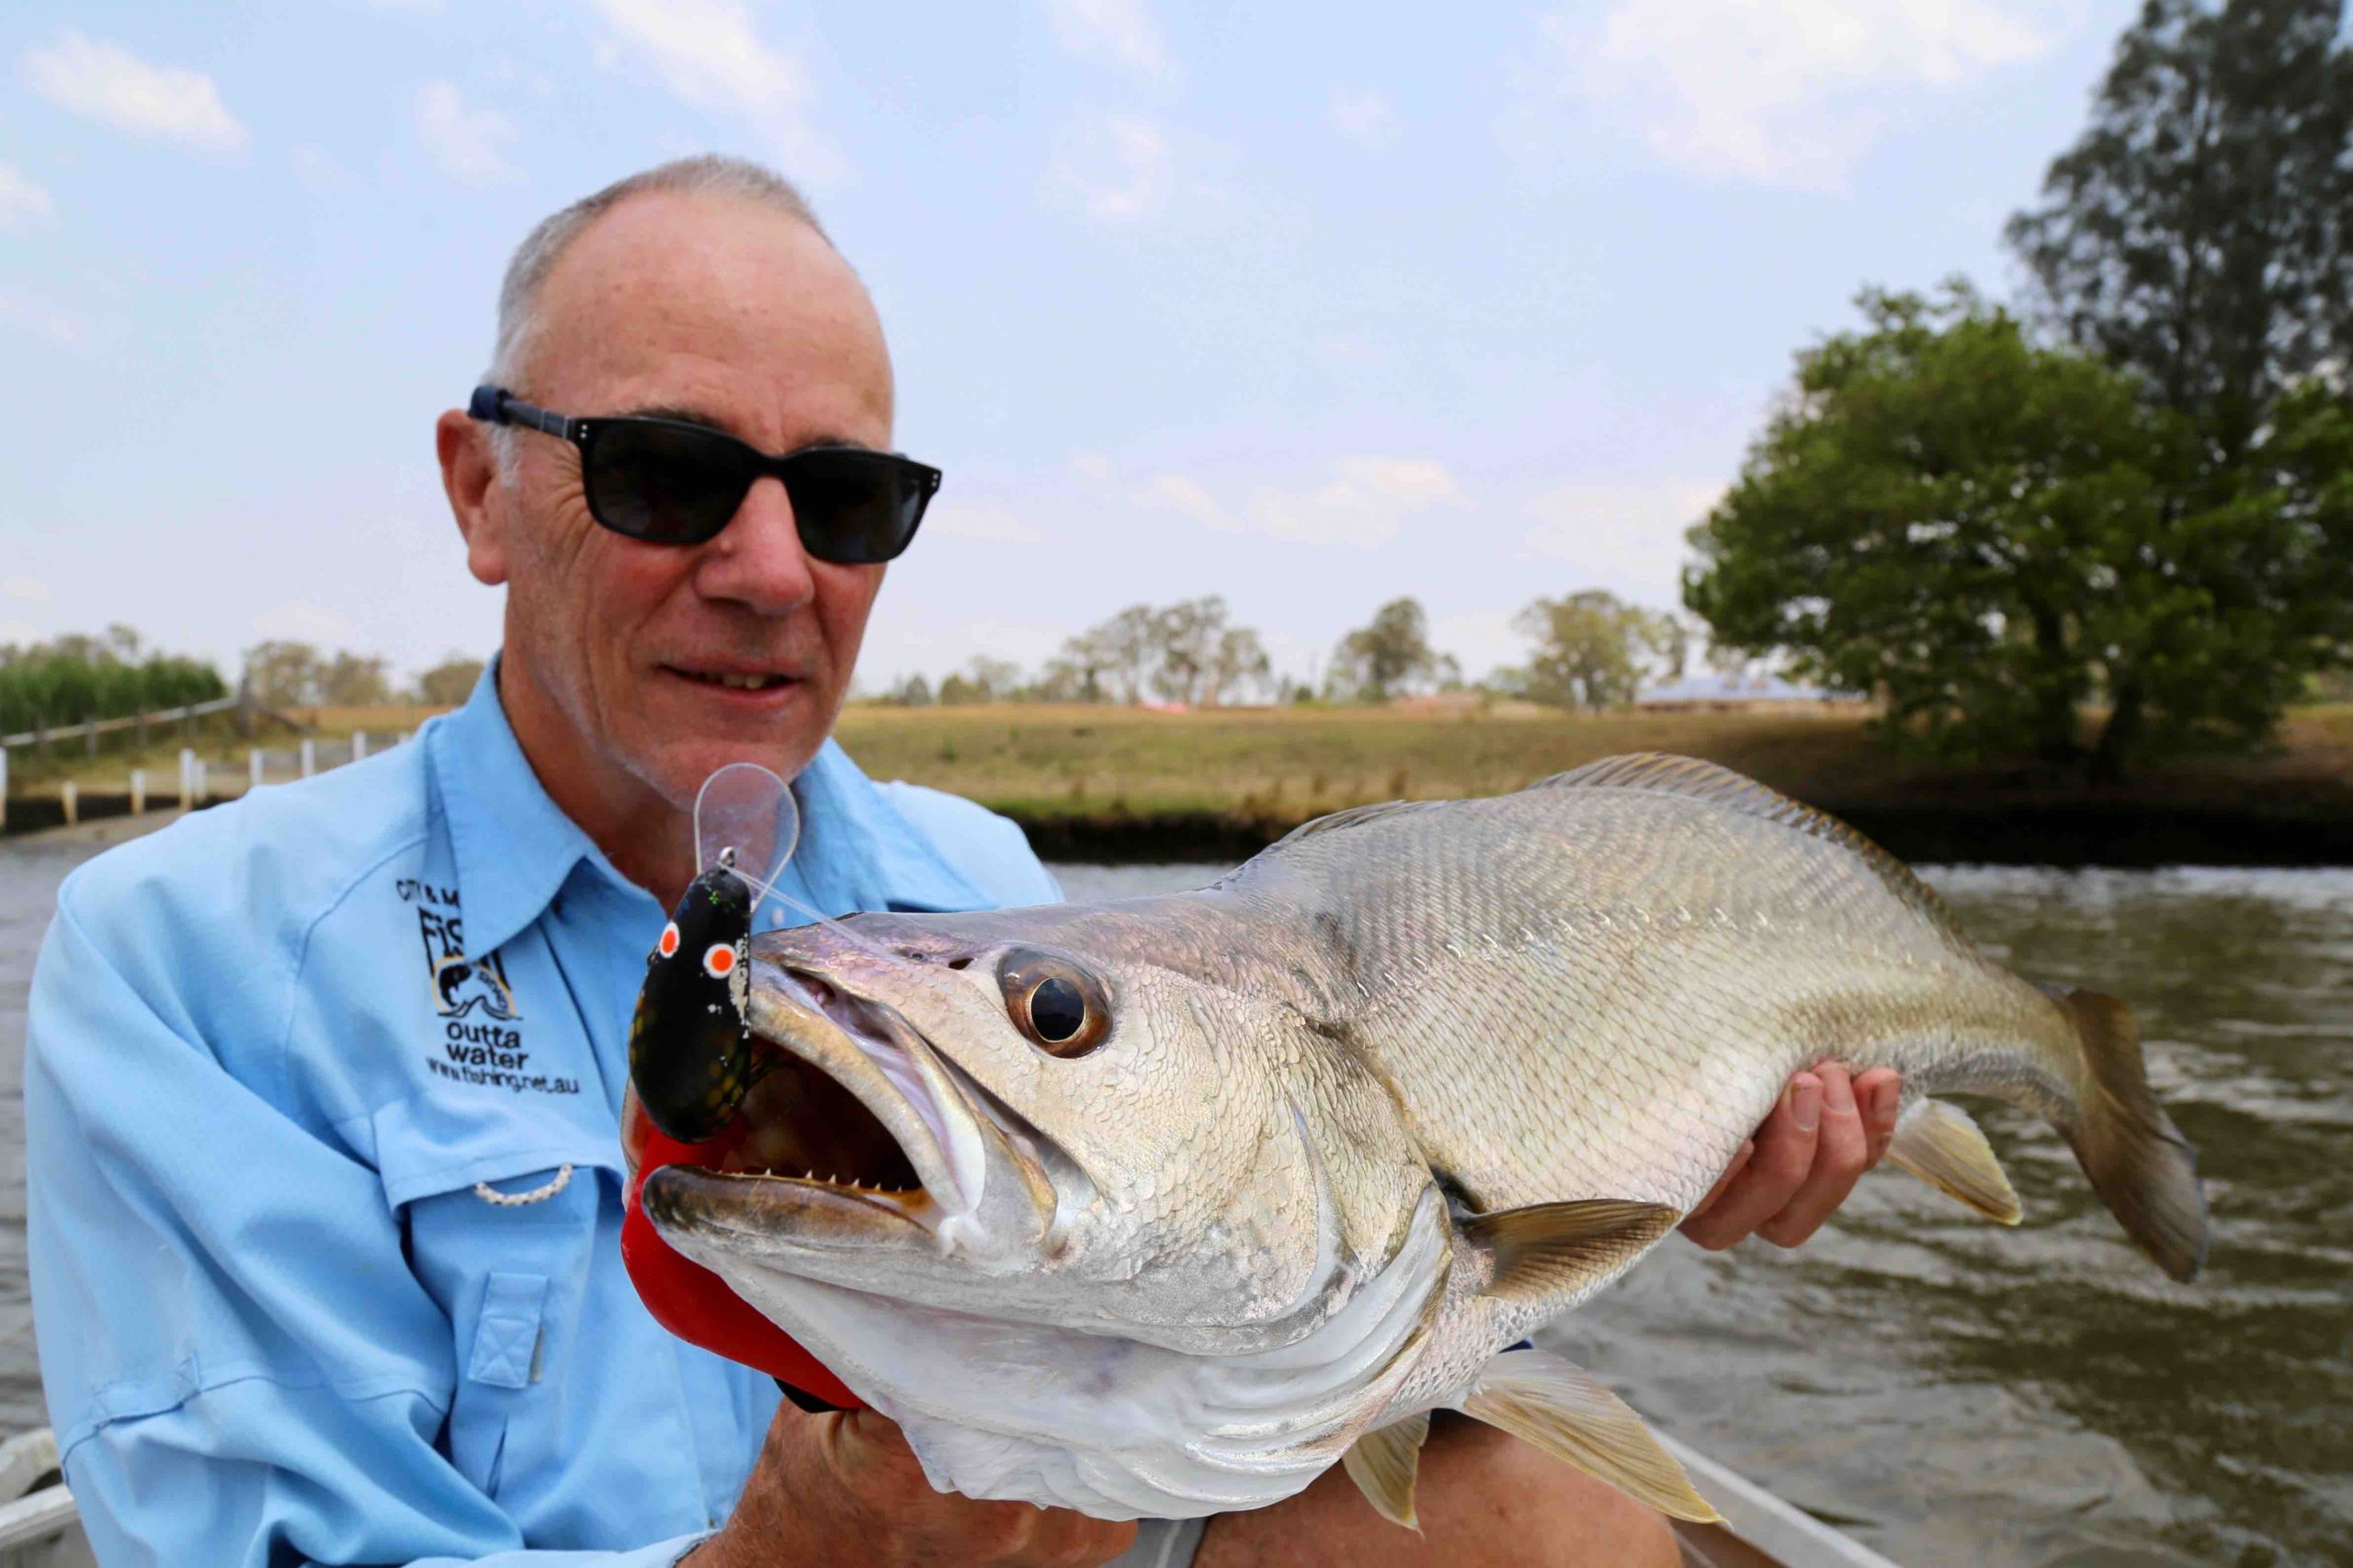
Talk to the angler. There’s nothing worse than awkward grip n’ grin shots where the angler is staring straight at the camera with a vacuous smile while hanging onto their catch with a death grip. Keep the subject talking while you shoot for more natural results.
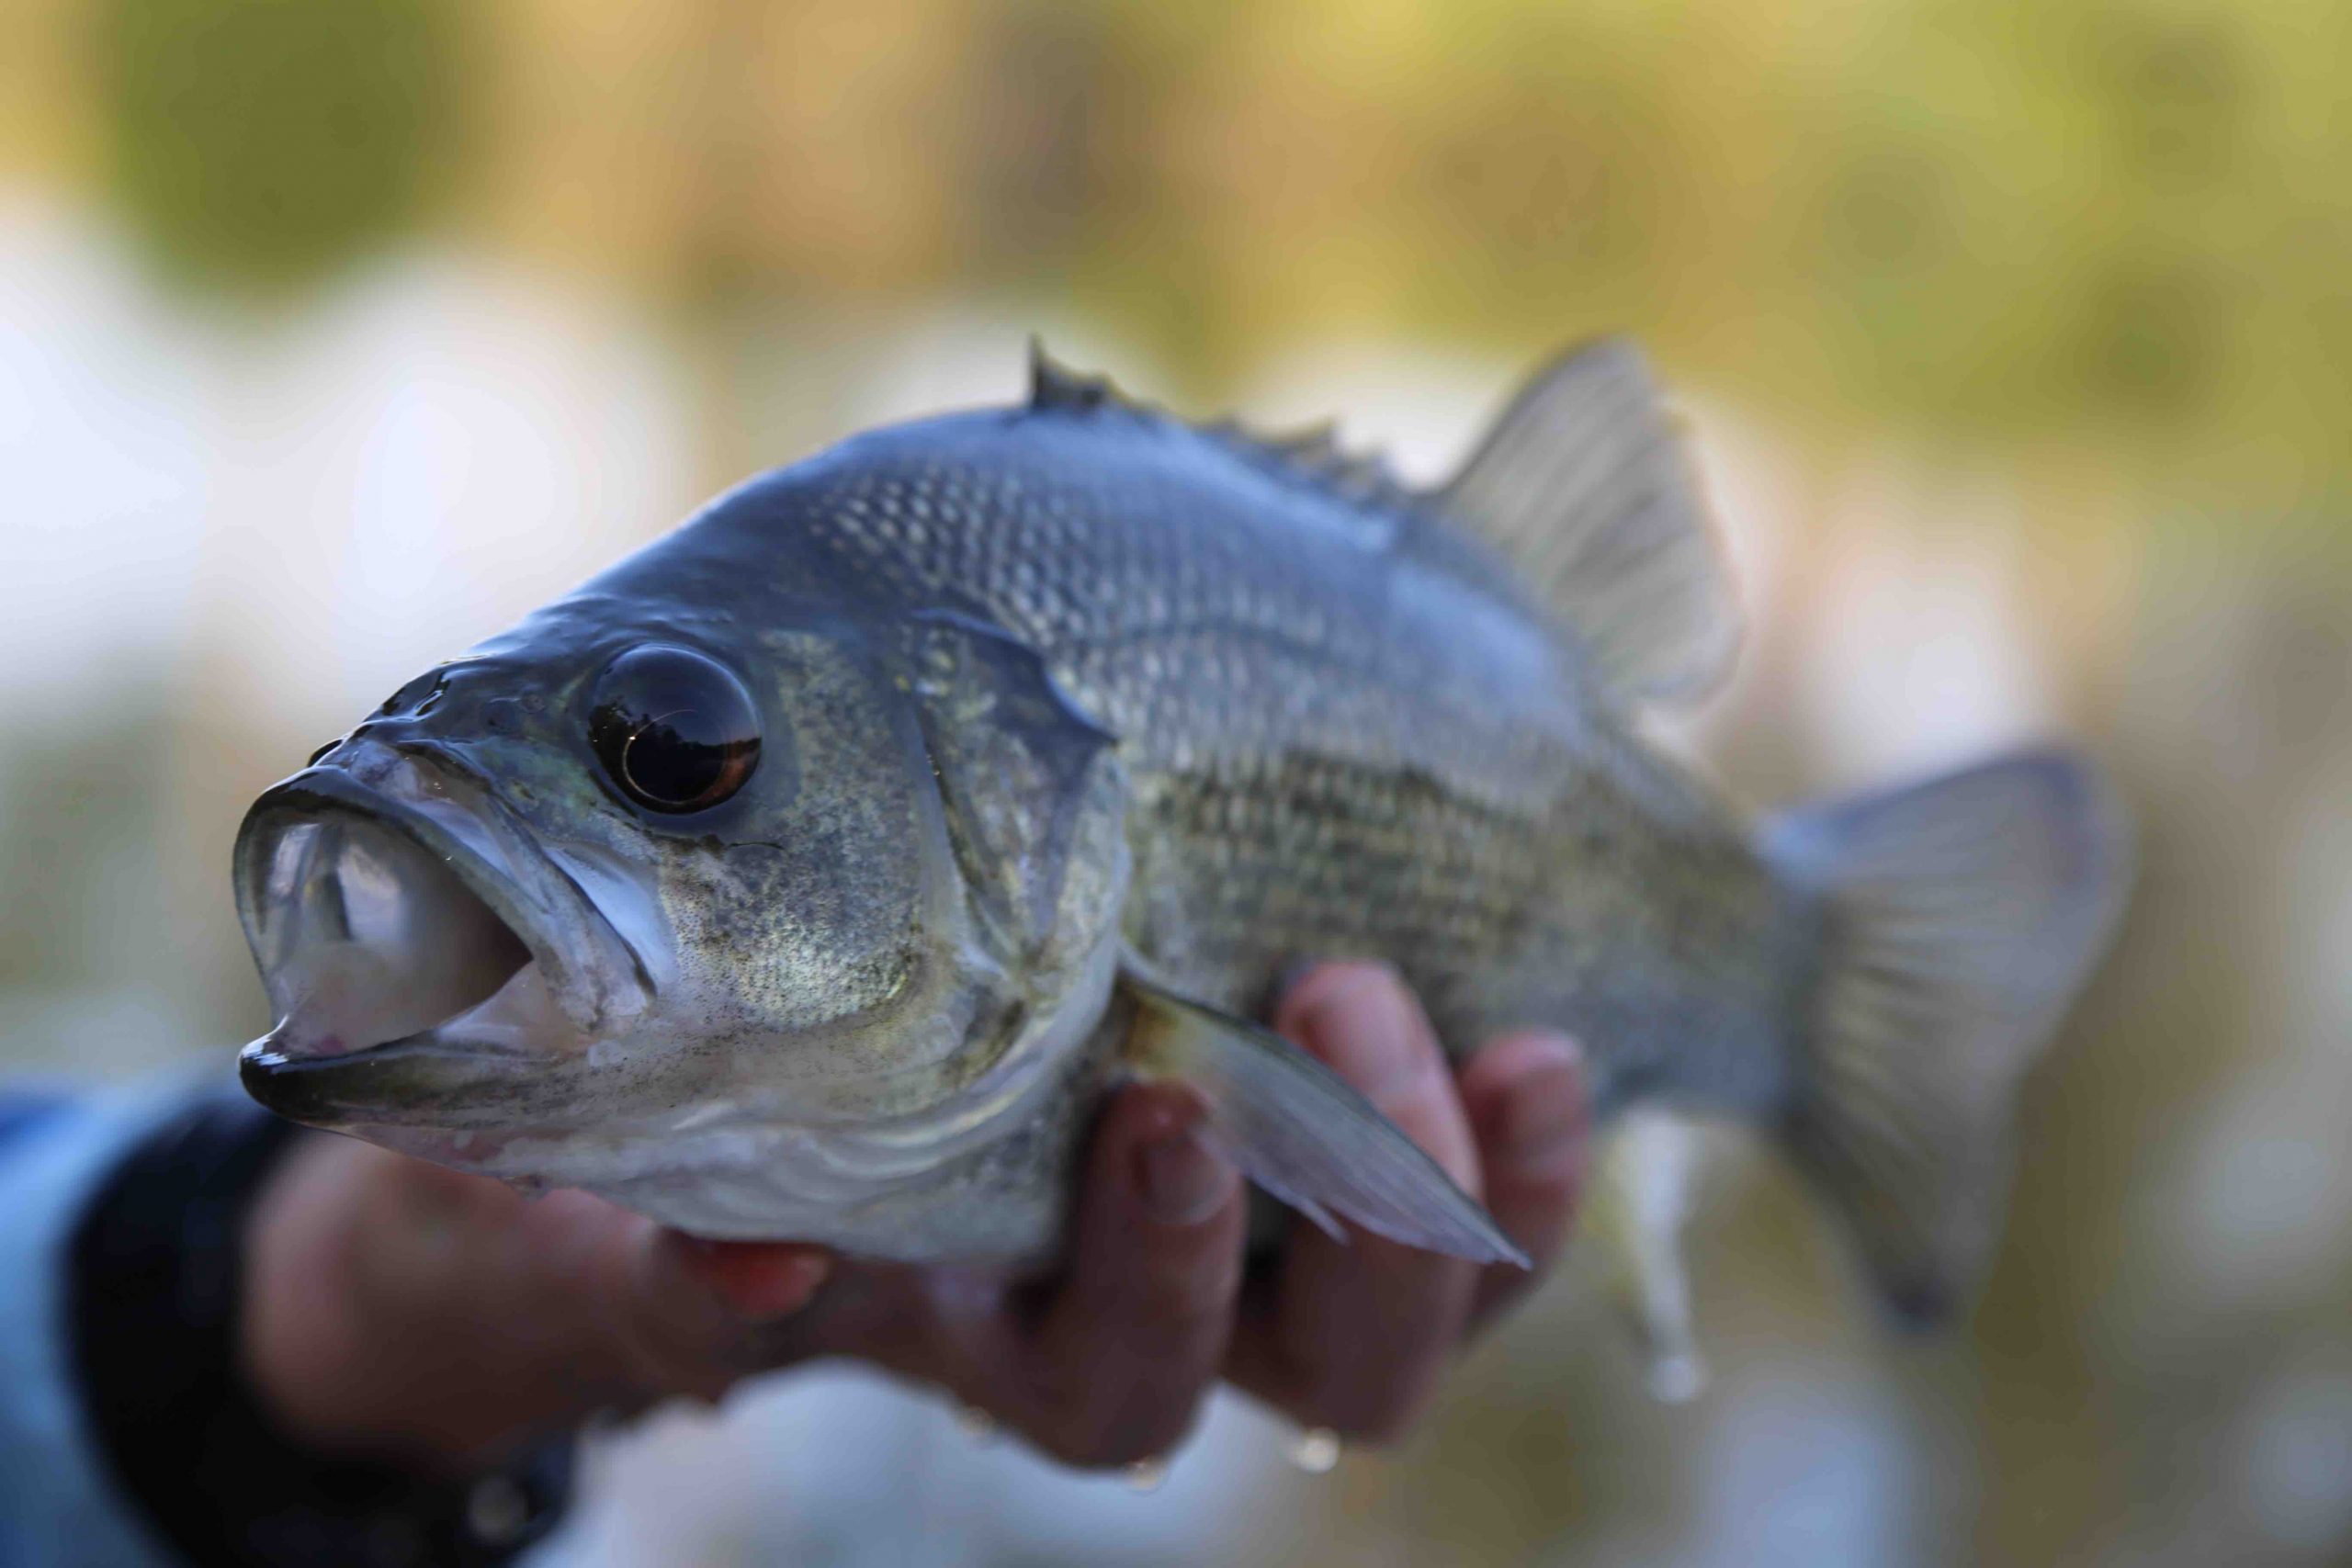
Fill the frame. Get up close to your subject, either physically or with your zoom, and remember that the fish should fill as much of the frame as possible.

Don’t be afraid to use flash. Fill flash is a great way to get rid of those annoying shadows that get cast over the face when your subject is wearing a hat.

Shoot different angles. Take both portrait and landscape shots, and don’t be afraid to move around and snap pics from a few different angles. Then you can choose which looks best later.
Take lots of exposures. The benefits of digital cameras can’t really be overstated. Shoot way more shots than you think you need, that way you’re sure to get at least a couple of good ones, and you can just delete all the rest later.
Check your shots as you go. Again, the beauty of the digital age. Check your shots on your camera’s display screen, so you can get an idea of what’s working and what’s not. Don’t delete anything until you’ve gone through them all on your computer at home, as you will often find hidden gems that didn’t look like much until you got them up on the big screen.

Learn to process your images. Photoshop is a very complicated program, but learning the basics can really help you to enhance your images. Even iPhoto, the photographic software that comes pre-loaded on Apple computers, has a huge amount of functionality when it comes to quickly and simply editing your images. Learn to crop and straighten your images as well as adjust exposure, contrast and saturation in seconds.


